

I was sitting my room watching television the other day and my eyes landed upon some boxes sitting in front the stand that I was planning to use in future projects. I had also just purchased a few items from a vintage shop that were packaged in a really neat paper bag. It was just the inspiration I needed.
This is a fun and DIY using most items that you would probably have in your home already. Its also a great way to be eco-friendly! I try to use items that I already have to save myself money.
Step 1:
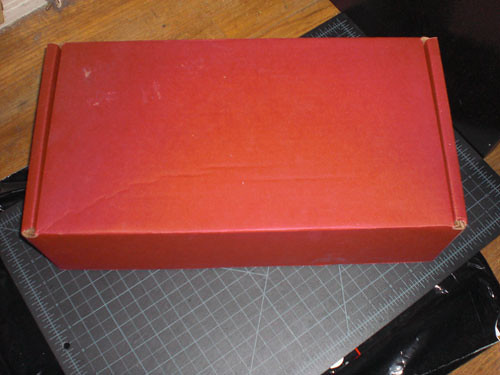
Start with a cardboard box. Any box will do, mine just happen to have a lid with it. A good medium to large shoe box will do too.
Step 2:
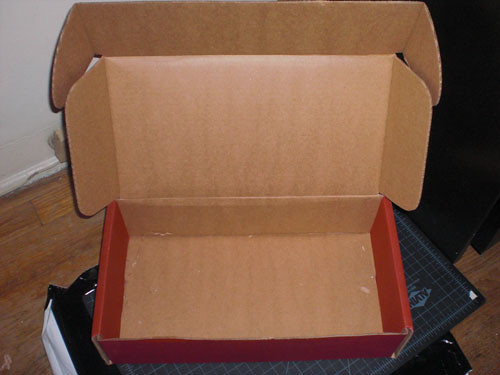
Cut off the lid. If your box happens to be a regular shipping box, you can cut off the flaps.
Step 3:
After cutting off the lid, I placed the lid back into the box to make a backing/stand for it. (I hope this made sense, it is hard to describe this step and I'm sorry that I didn't take better pictures of this process)
Step 4:
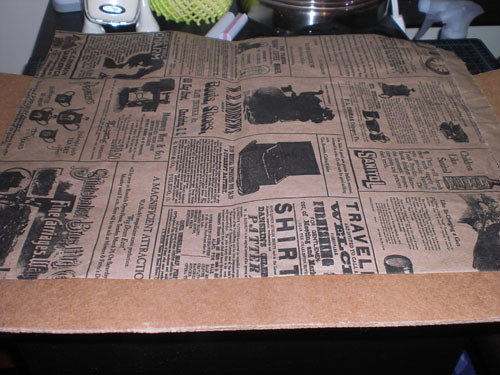
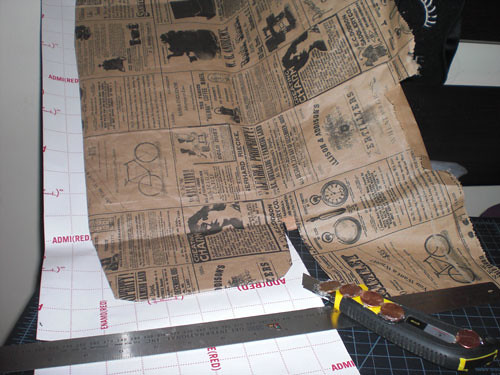
Use some decorative paper, scrap booking paper, wrapping paper and or newspaper! (I would recommend to use several layers since its so thin). This is the really neat paper bag I got from the vintage boutique I mentioned earlier.
Step 5:
First, take the backing/stand and wrap the front side of it (the side that will be facing you) using your decorative paper with glue and or tape.
Second, also wrap the back side of the backing/stand. You can use the same paper print or a different one. I chose to use some old wrapping paper (inspiration from my Storage Box post).
If you are using the standard shipping box, all you need to do is wrap the inside first and then proceed to wrap the outside (You will be done after this step).
Step 6:
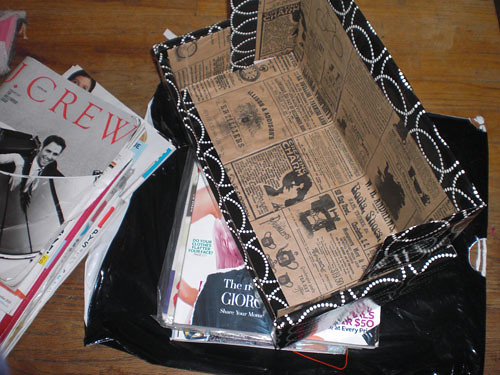
Continue to wrap the bottom part of the box (wrapping the inside first and the outside last). Place the backing/stand into the bottom box. Now I found that the backing/stand can hold well without glue but I chose to use a hot glue gun to reinforce it, just in case.

Step 7:
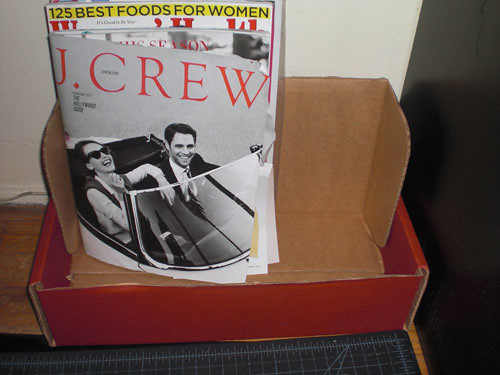
Place your completed handmade and eco friendly magazine rack at a desired location and enjoy!
I hope this tutorial made sense. I know the process images aren't that great. Sometimes when I'm doing these projects, I tend to forget to take pictures because I'm in deep concentration. Should you have any questions, please do not hesitate to ask questions and or contact me.
3 comments:
Loooved your idea..
congrats for the DIY..i'll try this. i need one os this.
thank u for changing my link in your blogroll!
*-*
i linked you there too. xoxo
Haha wow that's pretty cool! At first I was like, "Ohhh Alice, where is she going with this?" LOL. But the end result is awesome! Good job Alice!
this would be useful if we didnt throw out our magazines after we're done with it haha
& yeah we should def meet up one of these days! =]
Post a Comment