29 September 2011

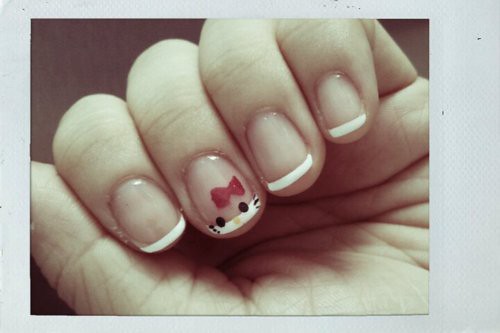
Hello Kitty French Tip Manicure

I have been on an unannounced hiatus. Due to my new job, it has kept me out of the blogging scene. However, I assure you that new changes are going to be coming soon to my blog! (hopefully)
In the meantime, I leave you with a simple and quick french tip manicure featuring Hello Kitty! Please bear with me as I was having a little fun with the Fx Camera application on my phone :) (and my camera wasn't working at the time).
Hello Kitty French Tip

I used a dotting tool for the eyes, nose and free-handed the rest.

Let me know what you think! :)

I think I will catch up on some blog reading tomorrow or later should I say. I am tired and ready to sleep.

Good night! :)

10 July 2011

Candy (Snack) Bag Pouch

As many of you had noticed, I love taking completely useless things you would normally throw out and transforming it into something useful!

I'm sure many of you enjoying eating sweets and snacks, right? Have you ever thought of what you could do with the bag once you've finished devouring the treat? How about a pouch to store miscellaneous items? It is also a great way to help the Earth by being environmentally friendly!

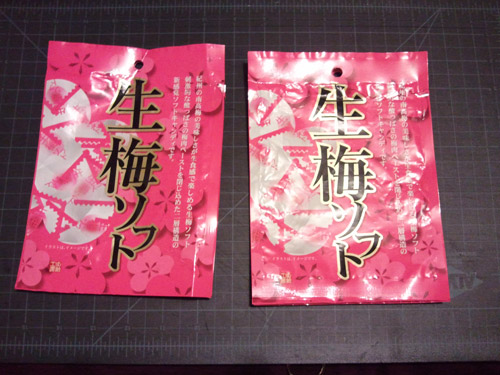
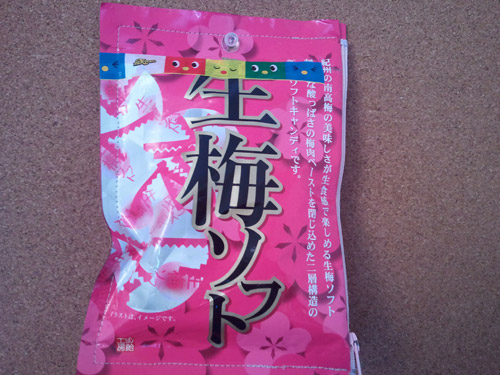
Here is a collection of Japanese plum candy bags I've collected over the months from a generous donor. Any candy bag or chip bag will do. I decided to use four bags: two bags for each side of the pouch. This will also depend on the thickness of the bag as well, but I would recommended to go no further than two bags for each side (it will be too hard to put things into the pouch due to the thickness).

Candy Bag Pouch

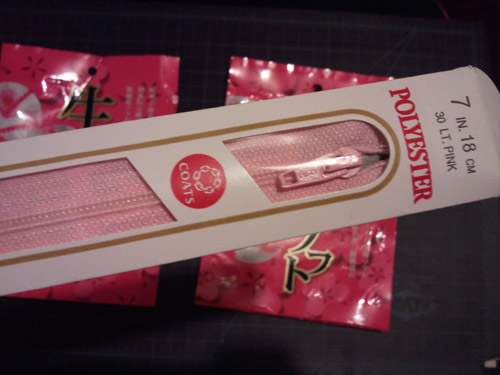
This project does require a sewing machine because manual labor is going to put your hands into a world of fatigue! You can try using a glue gun or E6000 craft glue, but I'm not sure how well that will work. You will also need to purchase a zipper which can be found at any craft/fabric store.

Candy Bag Pouch

I decided to use find a video tutorial on how to sew on the zipper as it it difficult to explain in writing. The tutorial I found on youtube does a great job of explaining how I sewed on the zipper.

Click here for video

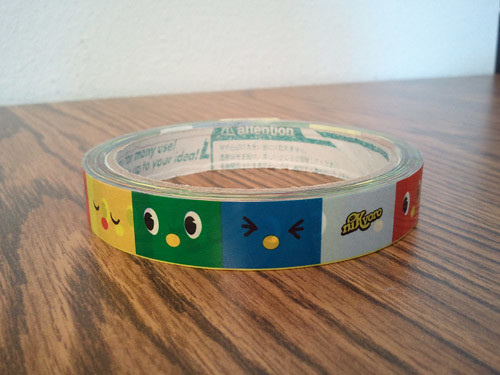
After completing the pouch, I decided to use Japanese packaging tape to "decorate"/hide the rips on candy bags.

Candy Bag Pouch

This is what the final product looks like! This would also be a great alternative to put these bags to use instead of throwing them away to sit in land fills.

Candy Bag Pouch

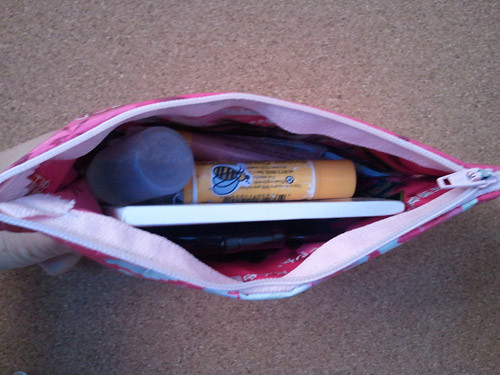
I also provided a snapshot of the inside just for viewing purposes.

Candy Bag Pouch

Thanks for reading and please tell me what you think! :)

29 May 2011

Flower Brooch

This is a handmade flower brooch constructed from scrap fabric, buttons and charms fastened to an alligator clip.

I don't have any process photos because I was too absorbed into this mini-project. :P However, I do plan on making another in the near future and I will provide a small tutorial!

Handmade Flower Brooch

Handmade Flower Brooch

25 May 2011

Good eats and travels in San Diego

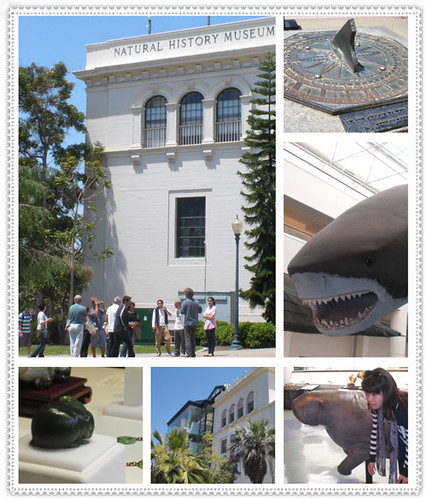
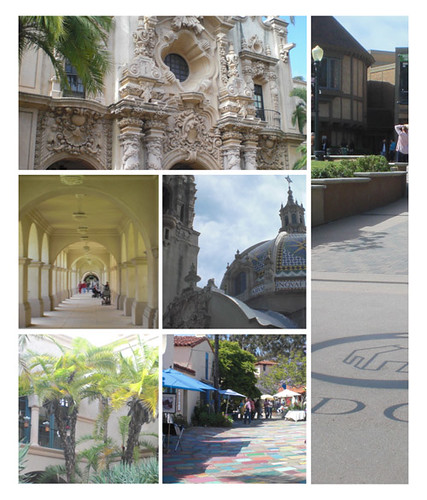
Weekend post from last week! Funny how I'm posting about last weekend when the weekend is already here! By the way, there were way too many pictures and I'm lazy, so I decided to collage them.

Four words for you: Good.Eats.and.Travels. :)

Day 1:
nozomi
Nozomi
4150 Regents Park Row Ste 190
La Jolla, CA 92037
  • Spicy green noodles
  • Bulgogi
  • Katsu Curry
Day 2
sdnationalhistorymuseum
San Diego Natural History Museum
1788 El Prado
San Diego, CA 92101

balboapark
Balboa Park
1549 El Prado
San Diego, CA 92101

seaportvillage
Seaport Village
849 W Harbor Dr

San Diego, CA 92101

buds
Bud's Louisiana Cafe
4320 Viewridge Ave Ste A
San Diego, CA 92123
  • New Orleans BBQ Shrimp Po Boy
    Sauteed shrimp in our spicy BBQ blend with garlic, Worcestershire, and butter served with shredded cabbage and jalapeno tartar sauce
Day 3
cafeatpark
Cafe on Park
3831 Park Blvd
San Diego, CA 92103
  • Scramble #9: smoked chicken, sundried tomato pesto, onions, spinach & mozarella cheese
  • Pancake: buttermilk & blackberry
  • Crab cake Benny: Grilled french bread topped with a crab cake, asparagus, and two basted eggs covered with chili hollandaise sauce (best dish we ate!)
oldtownsd
Old Town San Diego State Historic Park
4002 Wallace St
San Diego, CA 92110
  • I wasn't able to take many photos while I was here because I was too busy shopping! I did the most shopping here out of all the places I visited.
  • Old rustic town filled with vintage finds, handmade goods with a exception of your everyday tourist items

p.s.: I'm going to have my very first giveaway soon, so stayed tuned!

16 May 2011

There aren't enough Jiraffes on Urth

Urth Cafe Menu

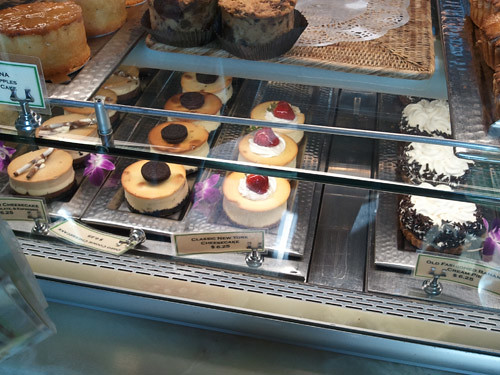
Urth Cafe Desserts!

Urth Cafe: Iced Cofee and Fresh Lemonade
Iced Coffee and Fresh Lemonade

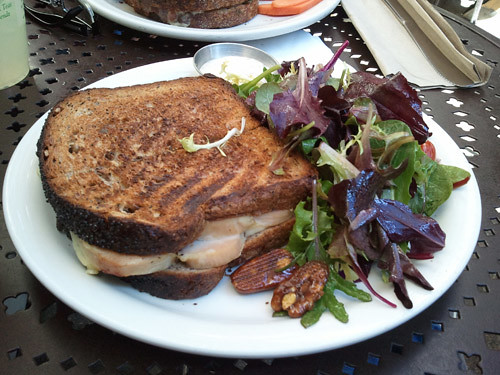
Urth Cafe Panini Roasted Turkey
Panini Roasted Turkey (Urth butter roasted turkey breast with Jarlsberg Swiss cheese, grilled to perfect on a poppy seed crusted honey wheat bread & served with small green salad and whole grain mustard sauce.)

Urth Cafe
2327 Main Street
Santa Monica, CA 90405

Oustide of Jiraffe Resturant

Jiraffe Menu

JiRaffe
502 Santa Monica Blvd.
Santa Monica, CA 90401


Sorry for the dark photos, but I had forgotten my camera that day and my phone camera has no flash. Although not pictured we had the Prime Caramelized Pork Chop (long grain wild rice, smoked bacon, spiced apple chutney, aged cider sauce). The boyfriend claims it was one of the best dishes he's ever eaten!

16 April 2011

Charm/Jewlery Case Reconstruction

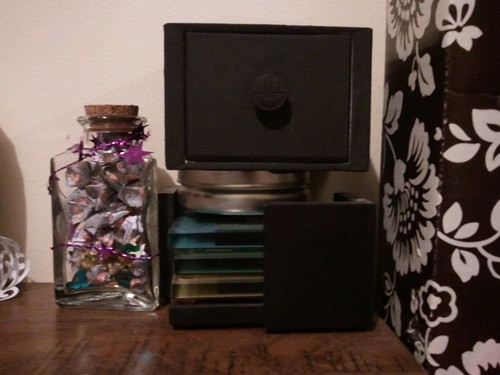
The perks of cleaning your room every so often is magically finding random things that you “thought” you lost. Before I begin, let me share a little something. Buying watches are one of my many obsessions and you can imagine that over the years of buying them, I've accumulated many watch boxes. I recently rediscovered this box and decided to perform a reconstruction.

jewelryboxrecon_1

jewelryboxrecon_2

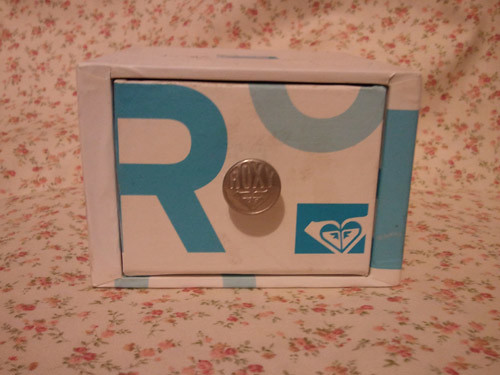
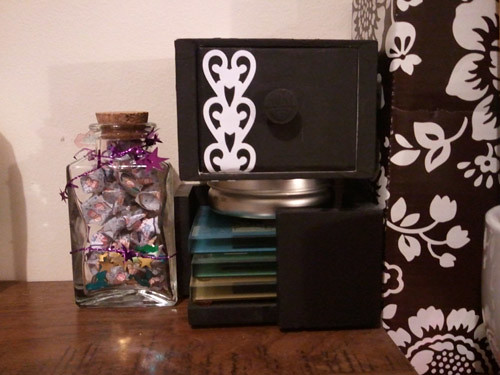
Here is a Roxy watch box that I wanted to throw out, but figured that I should put practical use to it instead. Although the process is not photographed, I used black acrylic craft paint. I know it wasn't a wise choice to use because the paint isn't going to hold on well but I didn't want to spend money buying more materials. :)

jewelryboxrecon_3

jewelryboxrecon_4

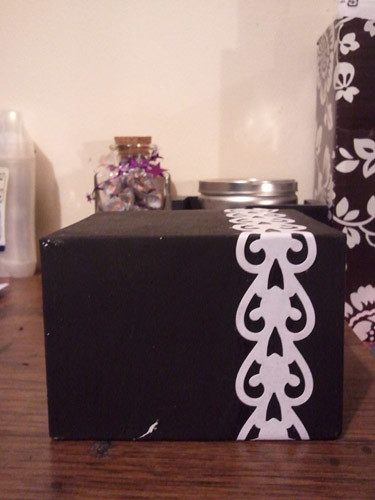
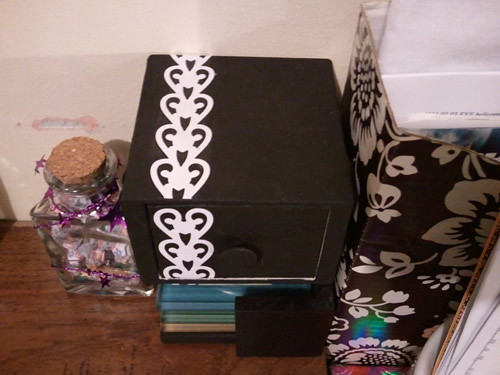
I found the box quite dull and decided to decorate it. I used the backing of a border sticker (that I was going to throw away) and glued it on to the box.

jewelryboxrecon_6 (1)

jewelryboxrecon_6 (2)

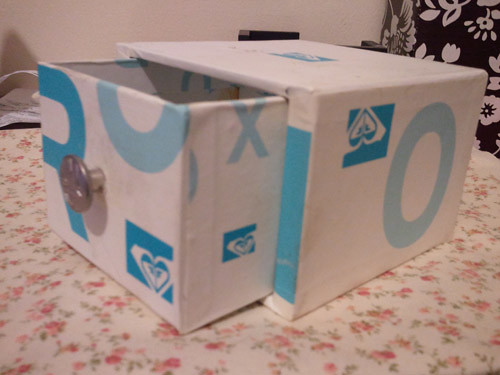
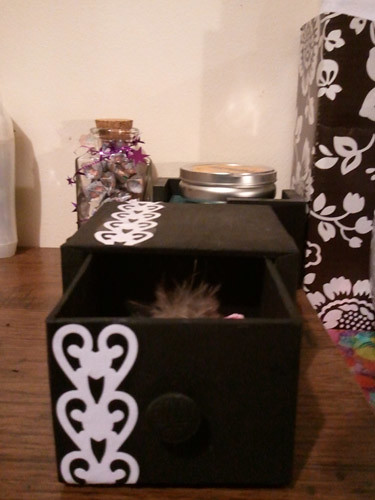
Here is the final product, finished and ready to use!

jewelryboxrecon_8

jewelryboxrecon_7

Please tell me what you think and thanks for looking!

24 March 2011

Quilted Black Wallet Reconstruction

I fell out of the blogging world again! I'll spare you the excuses this time and get straight to point. I've been on a recon roll lately and with March as National Craft Month, it is just the muse I need.

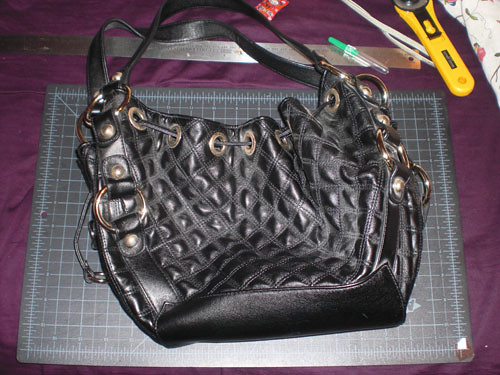
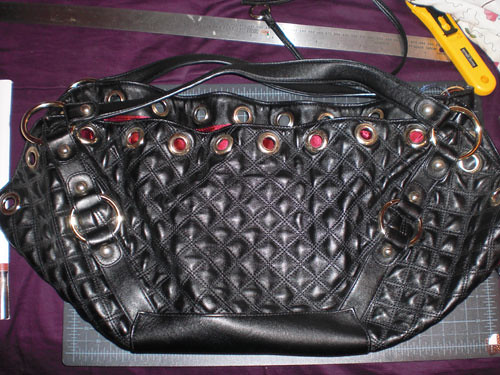
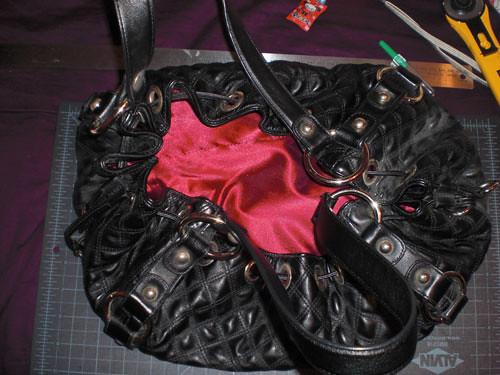
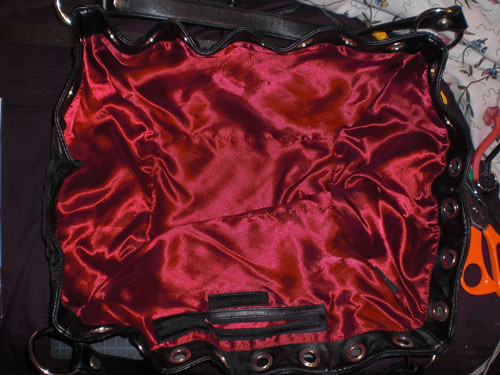
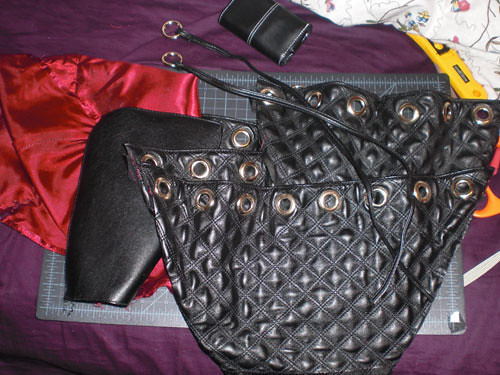
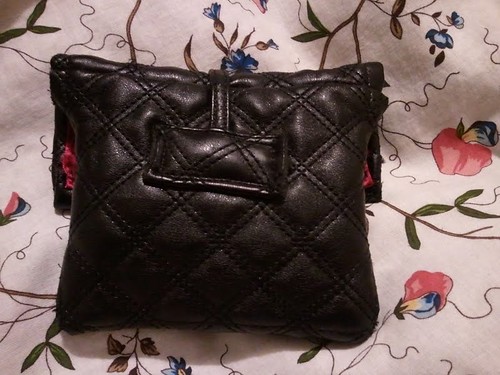
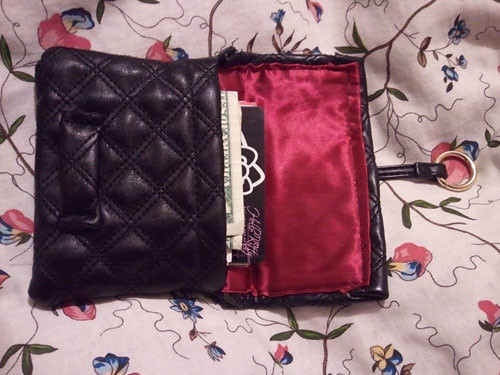
I found this lifeless black quilted shoulder bag sitting in my sister's donation pile she left behind, unused and collecting dust. Although I LOVE quilted purses (reminds me of those Chanel handbags I could never afford), I personally find this purse impractical. Since I'm not a big fan of pull string type bags, I knew it was a perfect opportunity to put good use to it. I immediately grabbed my scissors, started cutting and threading away.

Black Wallet Reconstruction_1

Black Wallet Reconstruction_2

Black Wallet Reconstruction_3

Black Wallet Reconstruction_4

I'm not the type to always plan things out when I work on projects as I like to improvise and “go with the flow”. However, I knew I had a sense of what I was going to construct using this black purse. The rule I gave myself was to only use the purse pieces.

Black Wallet Reconstruction_5


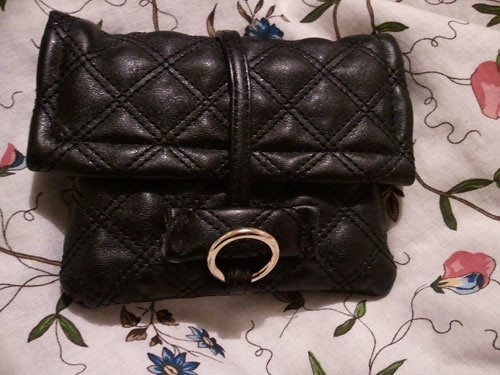
After intense hours of cutting, measuring, and sewing, this was the end result. I know what you're thinking, I sacrificed a shoulder bag for a puny wallet?! I like to think of it as putting something into good use, I saved that bag its misery! :)

Black Wallet Reconstruction_6

Black Wallet Reconstruction_7

Black Wallet Reconstruction_8

05 March 2011

Sunglasses case recon w/ small tutorial

In celebration of March as National Craft Month, I decided to focus more on DIY's and Recons! Which is totally fine with me because I haven't had time for a proper manicure! I originally tried to do a tutorial with this project, but for some reason it didn't work out...(hehe). So, this is somewhat of a tutorial but the photo process is lacking.

Sunnies are another one of my obsessions! I love sunglasses and I also love buying them, but not all of them have cases! Since I'm trying to not spend excessively, I decided to do a recon with what I had laying around. I came across a Fucci (Fake Gucci) sling bag that I got as a gift, sitting in my closet collecting dust. I saw it as a recon opportunity. Unfortunately, I didn't take a picture of the bag before I tore it apart, but that's okay. :)

Since this is a recon, this is going to be an easy and a quick project because everything is already pre-cut. (which I love about recons!)

Sunglasses Case Reconstruction: Tools
Step 1:
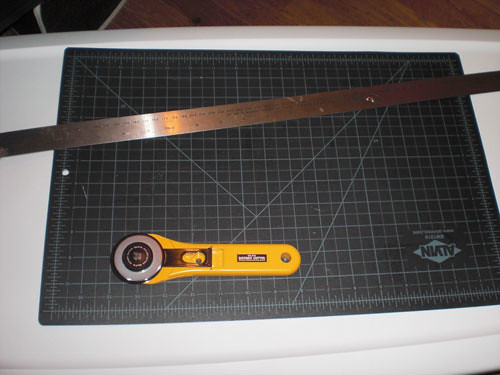
Proper tools are very important when it comes to crafting (at least in my opinion). I used a self-healing mat, rotary cutter, metal ruler and a sewing machine (not pictured here). You can also hand sew, if you have the patience.

Sunglasses Case Reconstruction: Materials
Step 2:
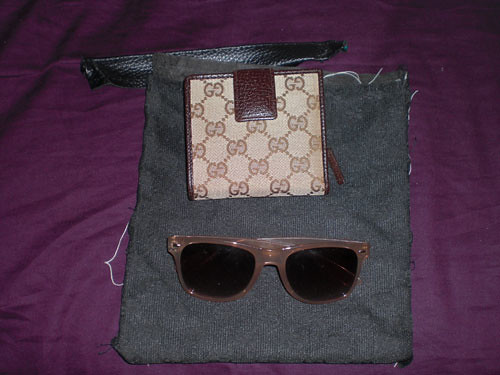
Materials are just as important as tools, as you need them in order to create your desired project. :) (I included the Gucci wallet for comparison with the Fucci print. :D)

Sunglasses Case Reconstruction: Sewing it together
Step 3:
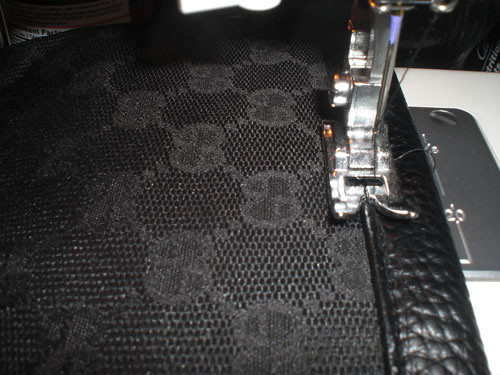
Sew on the border to: (1) make it look good and (2) to minimize the fabric fraying. If there is no border, then you can fold the fabric down to create a border.

Sunglasses Case Reconstruction: Sewing with wrong side facing up
Step 4:
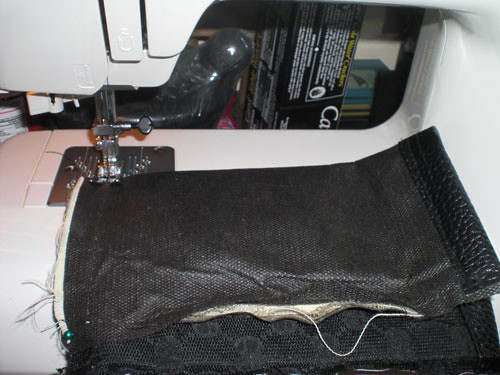
Be sure to measure the dimensions of your sunglasses to make sure they will fit. Fold the fabric in half and sew according to what you measured with the wrong side facing up. The wrong side is the side that will be facing inside of the case (as shown in the photo)

Completed Sunglasses Case Reconstruction
Step 5:
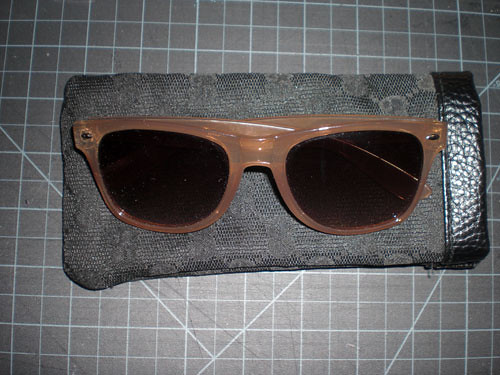
Flip the case inside out, use and enjoy!

I hope this tutorial made sense and should you have any questions please do not hesitate to ask!


Cosmetic Cupcake's birthday giveaway!

I'm so bad, I think this giveaway is ending in 3 hours or so. So here I am frantically advertising her giveaway, LAST MINUTE! haha....

27 February 2011

Magazine Rack with tutorial

I got tired of watching my growing magazine/catalog stack in the corner. So, I've been on the hunt for the perfect magazine rack and just couldn't find "the one".

I was sitting my room watching television the other day and my eyes landed upon some boxes sitting in front the stand that I was planning to use in future projects. I had also just purchased a few items from a vintage shop that were packaged in a really neat paper bag. It was just the inspiration I needed.

This is a fun and DIY using most items that you would probably have in your home already. Its also a great way to be eco-friendly! I try to use items that I already have to save myself money.


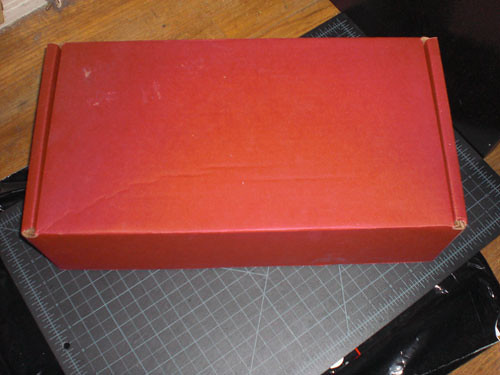
Step 1: Start with a cardboard box
Step 1:
Start with a cardboard box. Any box will do, mine just happen to have a lid with it. A good medium to large shoe box will do too.

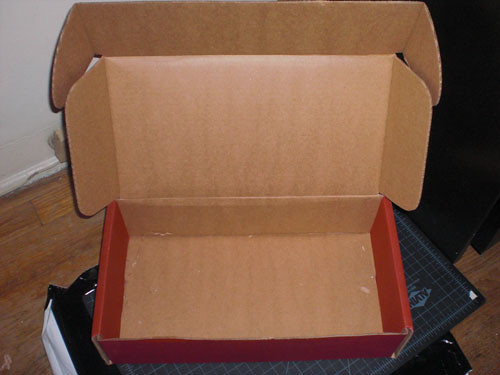
Step 2: Cut off the lid
Step 2:
Cut off the lid. If your box happens to be a regular shipping box, you can cut off the flaps.

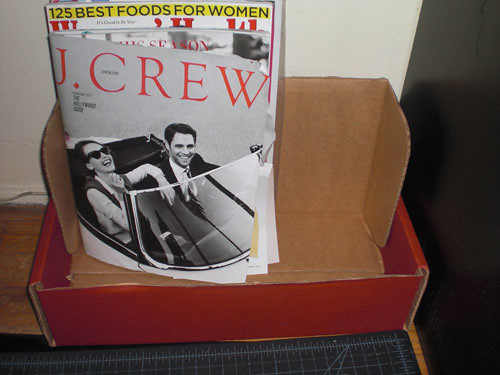
Step 3: Place the lid into the box to make a backing/stand
Step 3:
After cutting off the lid, I placed the lid back into the box to make a backing/stand for it. (I hope this made sense, it is hard to describe this step and I'm sorry that I didn't take better pictures of this process)

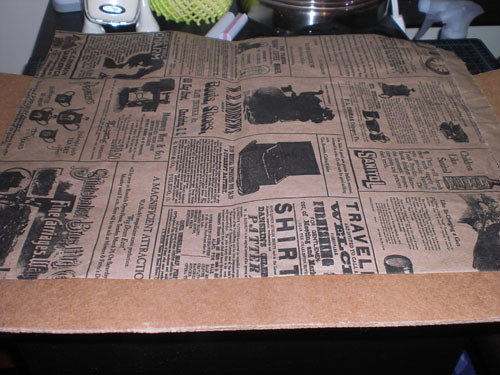
Step 4: Use some decorative paper or newspaper!
Step 4:
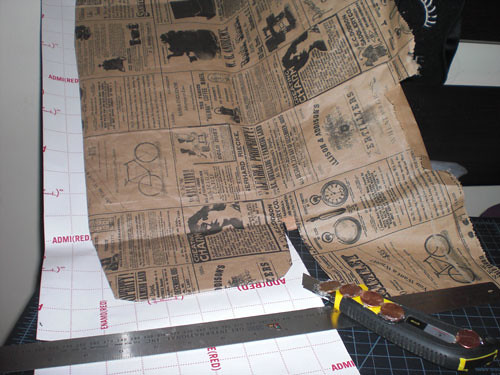
Use some decorative paper, scrap booking paper, wrapping paper and or newspaper! (I would recommend to use several layers since its so thin). This is the really neat paper bag I got from the vintage boutique I mentioned earlier.

Step 5: Wrap the decorative paper around the backing/stand
Step 5:
First, take the backing/stand and wrap the front side of it (the side that will be facing you) using your decorative paper with glue and or tape.
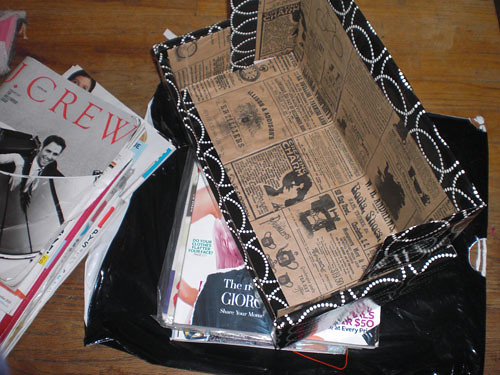
Second, also wrap the back side of the backing/stand. You can use the same paper print or a different one. I chose to use some old wrapping paper (inspiration from my Storage Box post).
If you are using the standard shipping box, all you need to do is wrap the inside first and then proceed to wrap the outside (You will be done after this step).

Step 6:Wrap the entire box with wrapping paper
Step 6:
Continue to wrap the bottom part of the box (wrapping the inside first and the outside last). Place the backing/stand into the bottom box. Now I found that the backing/stand can hold well without glue but I chose to use a hot glue gun to reinforce it, just in case.

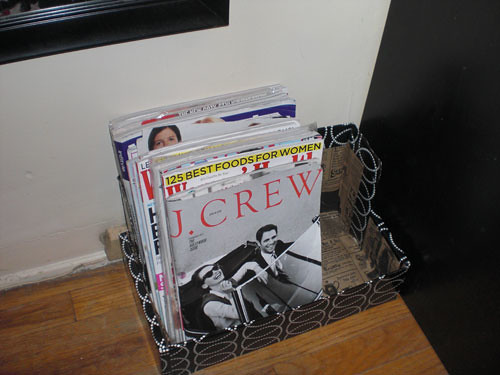
Step 7: And you're done! A regular cardboard box constructed into a magazine rack!
Step 7:
Place your completed handmade and eco friendly magazine rack at a desired location and enjoy!

I hope this tutorial made sense. I know the process images aren't that great. Sometimes when I'm doing these projects, I tend to forget to take pictures because I'm in deep concentration. Should you have any questions, please do not hesitate to ask questions and or contact me.